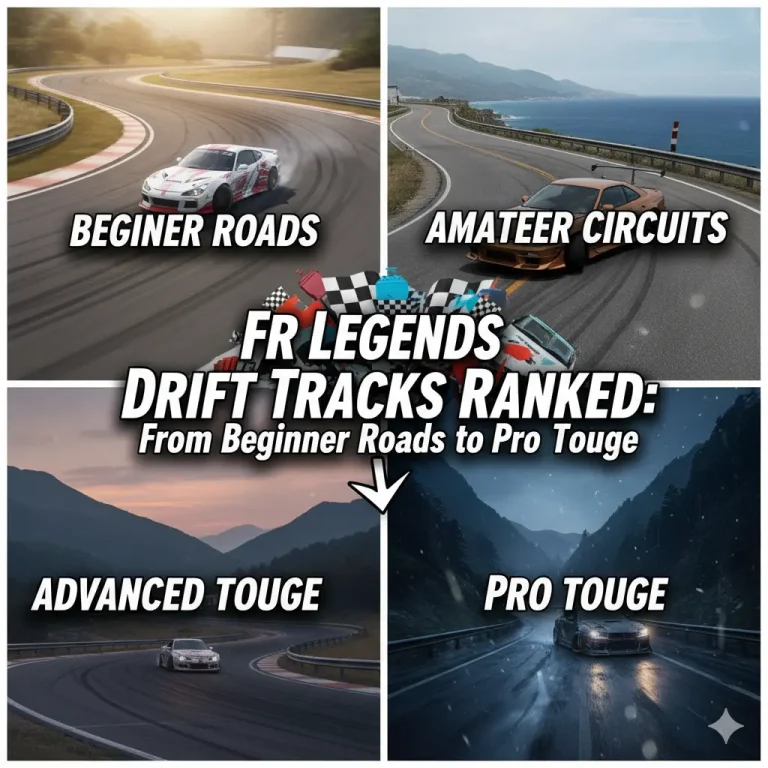
Most Challenging Maps in FR Legends & How to Master Them
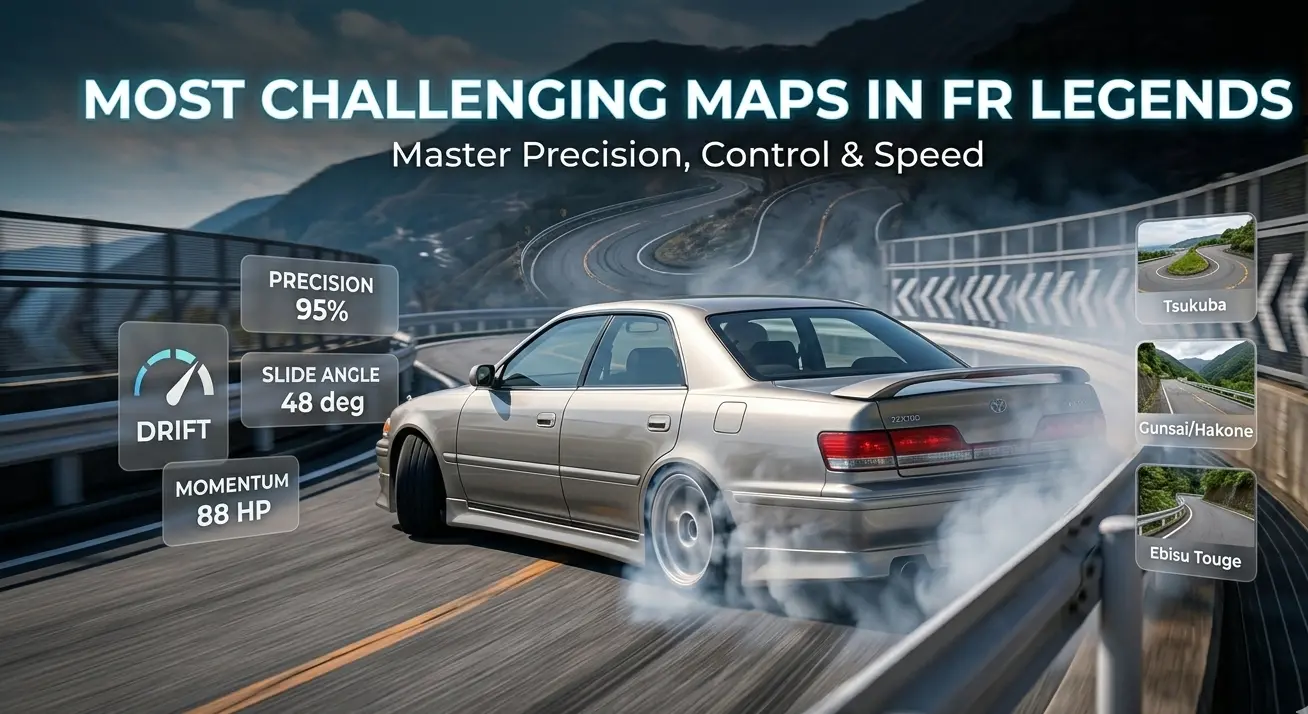
Not all tracks in FR Legends are easy. Some maps test precision, throttle control, and timing mercilessly.
Many players struggle with specific tracks because they use the wrong setup or drift line. This creates unnecessary difficulty.
What this guide explains
Which maps are the hardest: Specific tracks that separate skilled drifters from average players. Why did they earned reputation?
Why are they difficult? Exact characteristics make them challenging. Not vague difficulty but specific technical demands.
How to tune your car properly: Setup adjustments enabling success. Different from standard configurations that fail here.
Practical tips to master each one: Proven techniques that work. Not theory but tested approaches from repeated runs.
What Makes a Map Challenging in FR Legends?
Difficulty comes from specific design elements, not arbitrary hardness.
Tight corner sequences: Multiple turns linking without recovery space. One mistake compounds into the next section. No breathing room exists.
Sudden elevation changes: Uphill and downhill transitions dramatically affect weight distribution. Grip behavior shifts unexpectedly. Throttle control demands constant adjustment.
Narrow road width: Limited space for corrections mid-drift. Wall proximity creates pressure. Small errors become immediate failures.
High-speed entry zones: Momentum builds naturally before corners. Controlling entry speed becomes critical. Too fast and no technique saves you.
Limited recovery space: Mistakes cannot be corrected mid-section. You either execute properly initially or restart completely. No second chances.
Difficulty is not about speed. It is about control and consistency under pressure. Fast drifting on easy tracks differs completely from precise execution on demanding layouts.
Top Most Challenging Maps in FR Legends
These tracks separate competent drifters from masters.
Ebisu Touge – Precision and Consistency Test
Why is it hard?
Narrow mountain layout with guardrails that are constantly closed. Back-to-back corners demand continuous focus without relaxation. Little room for mistakes means one error ends runs.
Technical sections require exact positioning. Small line errors compound quickly. The track punishes improvisation harshly.
How to master it:
Medium horsepower: 380-420 HP range provides control without overwhelming grip. Too much power makes narrow sections dangerous. Too few limits the angle capability.
Smooth throttle control: Progressive inputs maintain stability. Harsh throttle changes upset the balance on narrow roads. Finesse beats aggression here.
Avoid aggressive flick entries: Weight transfer initiation works better than violent flicks. The narrow layout amplifies harsh inputs. Controlled rotation produces better results consistently.
Gunsai Touge – Speed and Angle Balance
Why is it hard?
Long downhill flow builds momentum constantly. Gravity accelerates you through sections. Controlling accumulated speed while drifting demands discipline.
Requires perfect transitions between direction changes. Rhythm matters critically. Breaking the flow costs massive time and scoring potential.
Punishes over-rotation: Too much angle kills the speed needed for the next section. You cannot recover momentum lost. The conservative angle maintains a better overall pace.
How to master it:
Stable suspension: Medium-firm settings prevent excessive body roll. You need predictable weight transfer. Soft suspension creates a vague feeling downhill.
Balanced rear grip: 50-55% rear provides controllable rotation without instability. Too loose makes the downhill sections chaotic. Too grippy prevents an adequate angle.
Focus on line, not angle: Clean positioning through sections scores better than maximum angle executed poorly. Flow beats flash consistently here.
Tsukuba – Technical Control Map
Why is it hard?
Tight hairpins require precise control of entry speed. Enter too fast, and no amount of skill saves the corner. Slow entry feels wrong, but works better.
A short layout makes it easy for mistakes to break the combo. No long sections for recovery. Every corner matters equally. Consistency determines success completely.
How to master it:
Short gear ratio: First gear breaks traction easily. The second covers the entire drift speed range. You avoid mid-corner shifting that disrupts rhythm.
Moderate horsepower: 400-450 HP handles technical sections without overwhelming control. The balance between capability and manageability matters here.
Clean entry timing: Initiate exactly at the optimal point. Early wastes angle potential. Late forces harsh inputs correcting position. Precision wins.
Hakone / Mountain Maps – Downhill Drift Control
Why is it hard?
Speed builds naturally downhill without throttle input. Gravity constantly accelerates you. Managing accumulated momentum becomes the primary challenge.
Hard to control the drift angle when the weight stays forward. Rear tires lose natural grip. The car wants to spin more readily than flat surfaces.
Guardrails punish mistakes: proximity to the wall creates pressure. Small corrections become large movements. Narrow margins for error exist throughout.
How to master it:
Lower horsepower: 350-400 HP prevents overwhelming downhill. Less power means more throttle range to work with. Control improves dramatically.
Slightly higher rear grip: 52-58% rear provides stability, gravity otherwise removes. You counteract natural grip loss. The car becomes predictable again.
Feather throttle: Part throttle maintains the angle smoothly. Full throttle on downhill spins most setups instantly. Modulation matters critically here.
Testing new cars on mountain maps clearly reveals their handling characteristics. Downhill sections expose weaknesses that other tracks hide. Good diagnostic tool.
Drift Battle Mode Tracks – Proximity Pressure
Why is it hard?
Close chasing creates mental pressure beyond technical difficulty. You focus on opponent positioning simultaneously with drifting. Split attention reduces performance.
Small mistakes cost disproportionately in battles. What you recover from solo ends runs competitively. Standards rise dramatically.
Requires smooth transitions: Jerky direction changes look bad and score poorly. Judges and opponents both notice. Consistency separates winners from participants.
How to master it:
Practice solo first: Master tracks without battle pressure initially. Build muscle memory through repetition. Add competition after fundamentals solidify.
Use stable setups: Predictable behavior helps you match your opponent’s movements. Flashy, unstable builds fail under pressure. Reliability wins battles.
Avoid sudden corrections: Smooth adjustments maintain flow. Harsh inputs break the rhythm visibly. Professional execution looks effortless through practiced control.
Best Car Setup for Challenging Maps
Difficult tracks demand specific setup approaches.
Recommended Horsepower Range
350 to 450 HP for control:
This range provides adequate angle authority without overwhelming traction on technical sections. You have a throttle range to modulate with. Mistakes are correctable.
Lower end (350-380 HP) suits narrow mountain tracks. The upper end (420-450 HP) operates on technical circuits. Match power to track characteristics.
Suspension Stability Settings
Balanced camber:
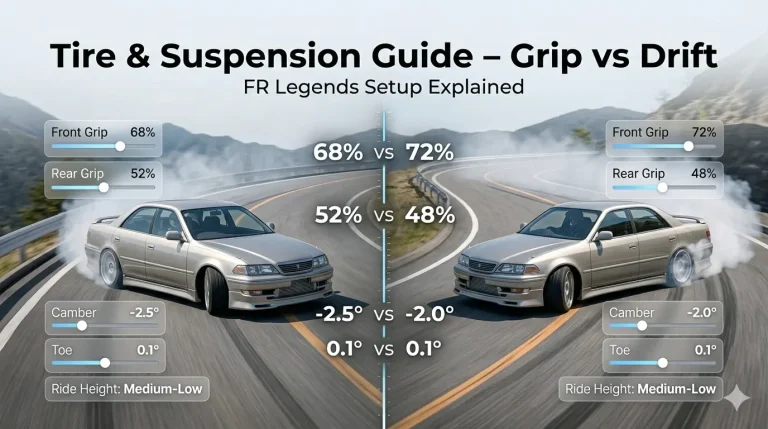
Front -2.5, rear -2.0 degrees create responsive yet stable handling. Too much camber makes the car twitchy on technical tracks. Too little reduces the response needed.
Slight rear softness:
The softer rear than the front communicates grip breaking progressively. You feel a limit approaching. Hard rear snaps suddenly without warning. Communication prevents mistakes.
Grip Setup for Tight Maps
Medium front grip:
65-68% front provides confident steering without understeer concerns. You point accurately through technical sections. Precision demands an adequate front bite.
Slightly lower rear grip:
50-54% rear enables rotation without chaos. Balance with the front creates controllable oversteer. Too loose makes consistency impossible on demanding tracks.
Even the Supra mod needs this conservative approach on challenging maps. Power alone solves nothing. The setup enables technique execution.
Drift Line Strategy for Difficult Tracks
Line choice matters more on hard tracks than easy ones.
Start wide, exit clean:
Outside entry position provides maximum turn-in room. You adjust mid-corner if needed. Tight entries leave no correction options. Commitment without flexibility fails.
Avoid entering too fast:
Excessive entry speed forces survival mode. You react instead of controlling. Slower entry enables technique application. Speed builds naturally through practice.
Maintain smooth transitions:
Flow between direction changes preserves momentum and combo multiplier. Harsh transitions break rhythm audibly and visibly. Smoothness separates advanced from intermediate players.
Focus on flow, not extreme angle:
Connected moderate-angle scores higher than disconnected maximum-angle. Challenging maps punish angle chasing. Consistency beats flash decisively here.
Common Mistakes That Make Maps Feel Harder
These errors create artificial difficulty beyond track design.
Too much horsepower: Adding maximum power before technique justifies it. You fight the car constantly. Reducing power often improves performance paradoxically.
Overusing the handbrake: Relying on the handbrake for every initiation. Breaks the flow and teaches bad habits. Weight transfer and throttle usually work better.
Ignoring gear ratios: Keeping stock gearing after power changes. You drop out of powerband mid-drift. Throttle response dies when needed most.
Resetting angle too often: Trying to perfect every corner individually. This breaks the overall flow that matters more. Accept imperfect sections, maintaining connection.
Copying aggressive setups: Using configurations designed for different tracks or skill levels. What works for someone else fails for you. Personalization matters.
Practice Routine to Improve Faster on Hard Maps
Systematic practice produces faster improvement than random attempts.
Practice one section repeatedly:
Master individual corners before linking full runs. Perfection in isolation transfers to complete attempts. Build systematically instead of hoping randomly.
Watch replays:
External view shows mistakes your driving perspective misses. You see line errors clearly. Position problems become obvious. Learn from observation.
Adjust tuning gradually:
Change one variable at a time. Note the effect specifically. Random changes teach nothing about cause-and-effect relationships.
Increase horsepower slowly:
Add 20-30 HP increments only after mastering the current power level. Rushing creates compensating habits instead of proper technique. Progression matters.
Focus on consistency before aggression:
Ten runs scoring 80% beats one perfect run with nine failures. Reliability enables improvement. Inconsistency prevents learning what actually works.
Base FR Legends teaches these fundamentals best. Even testing various mods demands this same systematic approach. Principles transfer universally across versions.
Are Challenging Maps Better for Skill Growth?
Difficulty accelerates improvement under the right conditions.
Yes for improving control:
Demanding tracks expose weaknesses clearly. You cannot hide behind forgiving physics. Problems become obvious immediately. Fixing them builds real skill.
Best for competitive players:
Great improvement requires serious challenges. Easy tracks teach bad habits through forgiveness. Hard tracks demand proper technique constantly.
Not ideal for beginners:
New players need confidence-building through success. Constant failure discourages before teaching. Master fundamentals on easier tracks first.
Progress to challenging maps after the basics are solidified. Sequence matters for effective learning progression.
Final Thoughts:
Mastering hard tracks provides competitive advantages.
Difficulty builds skill:
What challenges you improves you. Avoiding hard tracks limits growth artificially. Embrace difficulty systematically instead of randomly.
Smooth driving beats aggressive style:
Technical tracks reward finesse over force. Controlled inputs score higher than dramatic flourishes. Precision wins consistently.
Controlled drift over wild angle:
Sustainable moderate-angle beats are unsustainable at maximum angle. Consistency determines success. Flash impresses momentarily but ultimately scores poorly.
Even visual elements like livery codes should match this professional approach. Clean builds suit a serious competitive mindset better than aggressive chaos.
When FR Legends 2 arrives, these same challenging track principles will apply. Core physics and difficulty concepts remain constant across versions.
FAQ’s:
Which is the hardest map in FR Legends?
Ebisu Touge is generally considered the hardest due to its narrow layout and continuous technical sections. Gunsai Touge challenges differently through the management of downhill speed. Difficulty depends partly on driving style. Technical precision players struggle with speed tracks. Aggressive players struggle with narrow technical layouts.
What HP works best on mountain tracks?
350-400 HP for downhill control. Gravity provides momentum naturally. Excessive power overwhelms available grip. Lower power yields a wider range of throttle modulation. You control speed better with less engine authority fighting you constantly.
Why do I spin out on downhill maps?
Weight stays forward, reducing rear grip naturally. Adding too much throttle overwhelms reduced traction. The solution involves less power, greater rear grip, and smoother throttle inputs. Feather throttle instead of committing fully. Modulation prevents spinning.
How do I improve transitions?
Practice smooth steering reversals between direction changes. Avoid snapping the wheel harshly. Let the weight transfer settle naturally. Use progressive throttle through transitions instead of on-off inputs. Flow develops through repetition and conscious focus on smoothness.
Is high horsepower good for tight tracks?
No. Tight tracks demand control over power. High HP makes the throttle too sensitive. Small input errors create large problems. Moderate power (400-450 HP maximum) provides better control. You modulate precisely rather than fight excess capability.